The measurements ( in mm) of the diameters of the heads of 50 screws are given below :

Calculate the mean diameter of the heads of the screws.
The correct Answer is:40.24 mm
Step by step video, text & image solution for The measurements ( in mm) of the diameters of the heads of 50 screws are given below : Calculate the mean diameter of the heads of the screws. by Maths experts to help you in doubts & scoring excellent marks in Class 9 exams.
Related Playlists
- BOOK - RS AGGARWALCHAPTER - MEAN , MEDIAN AND MODE OF UNGROUPED DATA EXERCISE - Exercise 18C10videos
MEAN , MEDIAN AND MODE OF UNGROUPED DATA
- BOOK - RS AGGARWALCHAPTER - MEAN , MEDIAN AND MODE OF UNGROUPED DATA EXERCISE - Exercise 18D8videos
MEAN , MEDIAN AND MODE OF UNGROUPED DATA
- BOOK - RS AGGARWALCHAPTER - MEAN , MEDIAN AND MODE OF UNGROUPED DATA EXERCISE - Exercise 18A31videos
MEAN , MEDIAN AND MODE OF UNGROUPED DATA
- BOOK - RS AGGARWALCHAPTER - LINES AND ANGLESEXERCISE - Multiple Choice Questions (Mcq)28videos
LINES AND ANGLES
- BOOK - RS AGGARWALCHAPTER - NUMBER SYSTEMSEXERCISE - Very Short Answer Questions23videos
NUMBER SYSTEMS
Knowledge Check
- Question 1 - Select One
The pitch of a screw gauge is 0.5mm and there are 50 divisions on its circular scale and one main scale division =0.5 mm. Before starting the measurement it is found that when jaws of the screw gauge are brought in contact, the zero of the circular scale lies 4 division above the reference line. when a metallic wire is placed between the jaws, five main scale divisions are clearly visible and 18th division on the circular scale coincides with the reference line. the diameter of the wire is
A2.68mmB2.72mmC2.64mmD2.62mm - Question 1 - Select One
Using Searle's apparatus while determining the Young's modulus of a wire, a girl is taking measurements of different parameters : Length of the wire, L, is 30 cm, which is measured with a millimeter scale , diameter of the wire, d, is 1 mm, which is measured with a screw gauge. (Least count of the screw gause is 0.01 mm, least count of the spherometer attached to the apparatus frame is 0.005 mm, spherometer attached to the apparatus frame is 0.005 mm , spherometer measured the extension e of the wire , W is the weight of the loads.)
The parameter that should be measured more carefully isAload on the hangerBlength of the wireCdiameter of the wireDextension of the wire - Question 1 - Select One
Using Searle's apparatus while determining the Young's modulus of a wire, a girl is taking measurements of different parameters : Length of the wire, L, is 30 cm, which is measured with a millimeter scale , diameter of the wire, d, is 1 mm, which is measured with a screw gauge. (Least count of the screw gause is 0.01 mm, least count of the spherometer attached to the apparatus frame is 0.005 mm, spherometer attached to the apparatus frame is 0.005 mm , spherometer measured the extension e of the wire , W is the weight of the loads.)
The maximum fractional error in the measurement of Y isAΔWW+ΔLL+Δdd+ΔllBΔWW+ΔLL−2Δdd+ΔlCΔWW+ΔLL+2Δdd+ΔllDΔWW−ΔLL+Δdd+Δll - Question 1 - Select One
Diagrams show readings of a screw gauge. Figure (i) shows the zero error reading when the screw gauge is closed, figure (ii) the reading when the screw gauge is being used to measure the diameter of a ball-bearing. What is the diameter of the ball-earing ? There are 50 divisions on circular scale.
 A5.29 mmB5.26 mmC5.32 mD5.28 mm
Similar Questions
The measurements (in mm) of the diameters of the head of the screws are given below:

Calculate mean diameter of head of a screw by ‘Assumed Mean Method’.View SolutionThe diameter of circles (in mm) drawn in a design are given below:

Calculate the standard deviation and mean diameter of the circles.View SolutionThe diameters of circle (in mm) drawn in a design are given below:
 .
.
Calculate the SD and meanView SolutionWhen circular scale of a screw gauge carrying 100 divisions is given four complete rotation, the head of the screw moves through 2mm. Calculate pitch and least count of the screw gauge.
View Solution
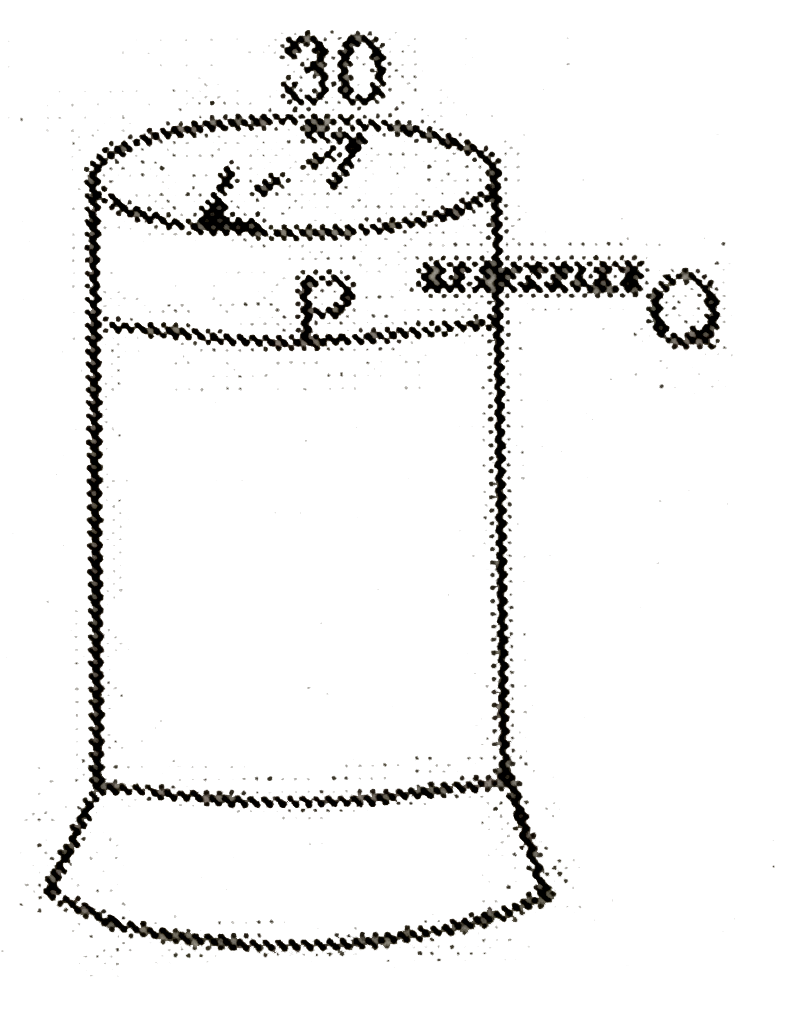
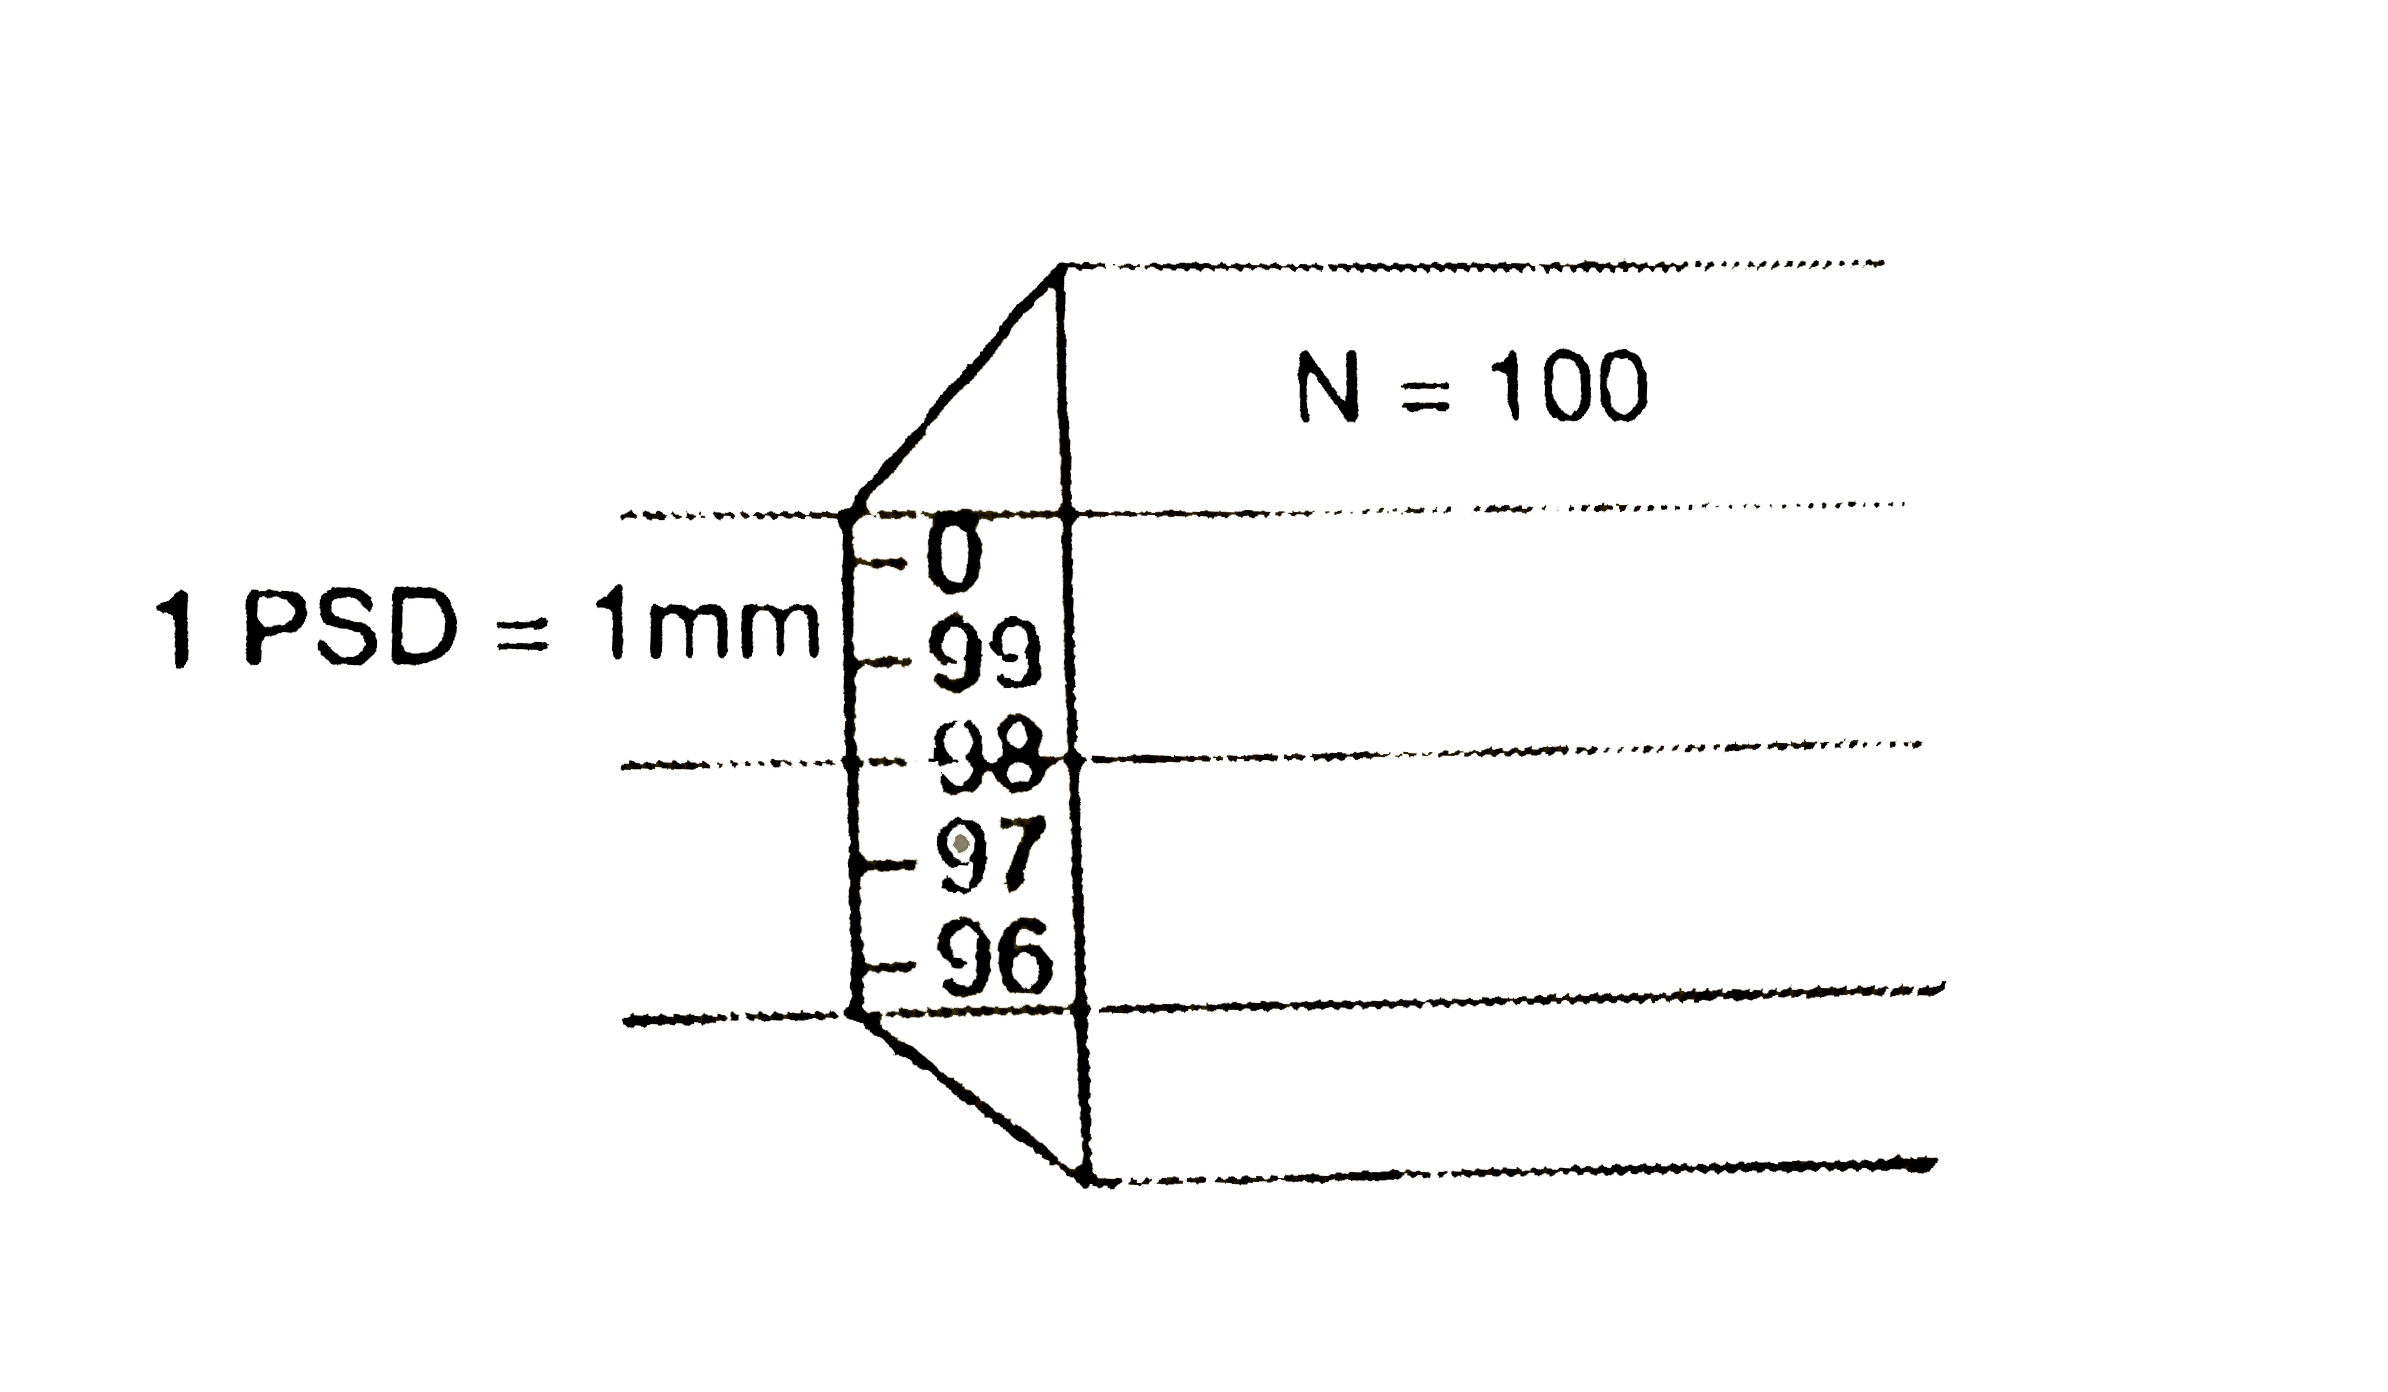
The pitch of the screw in a screw jack shown in the figure is 5 cm and the diameter of the head of its vertical shaft is 30 cm. If the length of the rod PQ fixed to the shaft is 55 cm, find the effort required to raise a load of 10.56 quintal using the jack. (Take 1 quintal = 100 kgwt)View SolutionWhen the studs of a screw gauge are in contact the position of the head of the screw is as shown below Determine the zero error,
 View Solution

