Given a schematic labelled diagram to represent oogenesis (without descriptions).
Step-by-Step Solution for Oogenesis Diagram
1. Draw the Primordial Germ Cell: Start by drawing a small circle to represent the primordial germ cell, which is the initial cell that will undergo division to form oocytes.
2. Label the Primordial Germ Cell: Write "Primordial Germ Cell" next to the small circle.
3. Draw the Primary Oocyte: From the primordial germ cell, draw an arrow leading to a larger circle. This represents the primary oocyte, which is formed after the first mitotic division.
4. Label the Primary Oocyte: Write "Primary Oocyte" next to the larger circle.
5. Indicate First Meiotic Division: Draw a line or arrow from the primary oocyte to indicate the first meiotic division. You can represent this division with a dashed line to show that it is a process.
6. Draw the Secondary Oocyte and First Polar Body: From the primary oocyte, draw two arrows leading to two new circles. The larger circle represents the secondary oocyte, and the smaller circle represents the first polar body.
7. Label the Secondary Oocyte and First Polar Body: Write "Secondary Oocyte" next to the larger circle and "First Polar Body" next to the smaller circle.
8. Indicate Second Meiotic Division: Draw another dashed line from the secondary oocyte to indicate the second meiotic division.
9. Draw the Ovum and Second Polar Body: From the secondary oocyte, draw two arrows leading to two new circles. The larger circle represents the ovum, and the smaller circle represents the second polar body.
10. Label the Ovum and Second Polar Body: Write "Ovum" next to the larger circle and "Second Polar Body" next to the smaller circle.
11. Final Touches: Ensure all parts of the diagram are clearly labeled and that the arrows indicate the direction of development from one stage to the next.
Topper's Solved these Questions
- BOOK - NCERT EXEMPLAR ENGLISHCHAPTER - HUMAN REPRODUCTION EXERCISE - LONG ANSWER TYPE QUESTIONS5videos
HUMAN REPRODUCTION
- BOOK - NCERT EXEMPLAR ENGLISHCHAPTER - HUMAN REPRODUCTION EXERCISE - VERY SHORT ANSWER TYPE QUESTIONS15videos
HUMAN REPRODUCTION
- BOOK - NCERT EXEMPLAR ENGLISHCHAPTER - HUMAN HEALTH AND DISEASESEXERCISE - All Questions69videos
HUMAN HEALTH AND DISEASES
- BOOK - NCERT EXEMPLAR ENGLISHCHAPTER - MICROBES IN HUMAN WELFARE EXERCISE - Long Answer Type Questions6videos
MICROBES IN HUMAN WELFARE
Similar Questions
Knowledge Check
- Question 1 - Select One
Identify A in the given diagram.
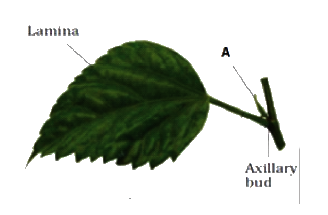 Acellular endospermBnuclear endospermChelobial endospermDreminate endosperm
 - Question 2 - Select One
What does the given diagram represent ?
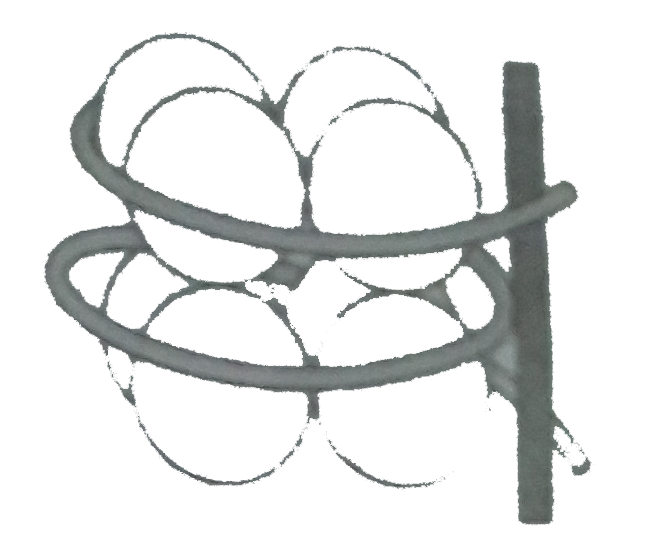 ANucleosomeBSpliceosomeCHistone complexDBoth (a) and (b)
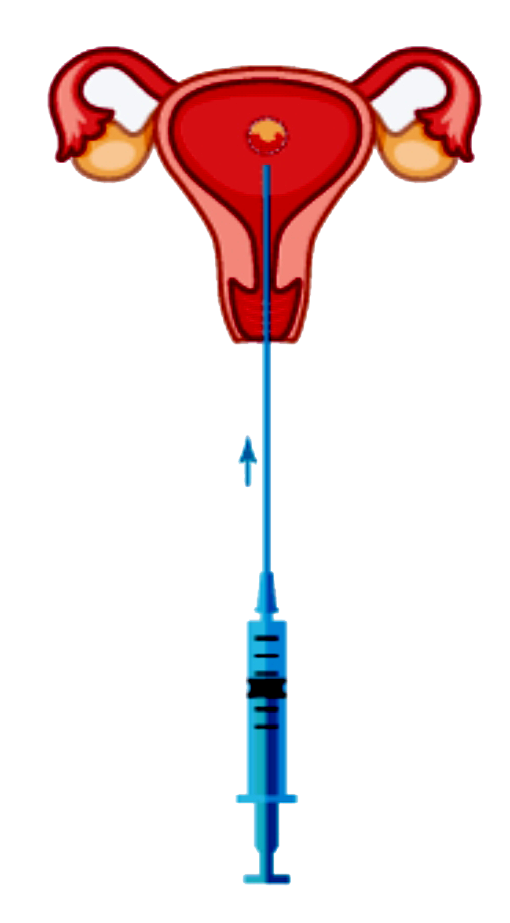
The given diagram represents
 View Solution
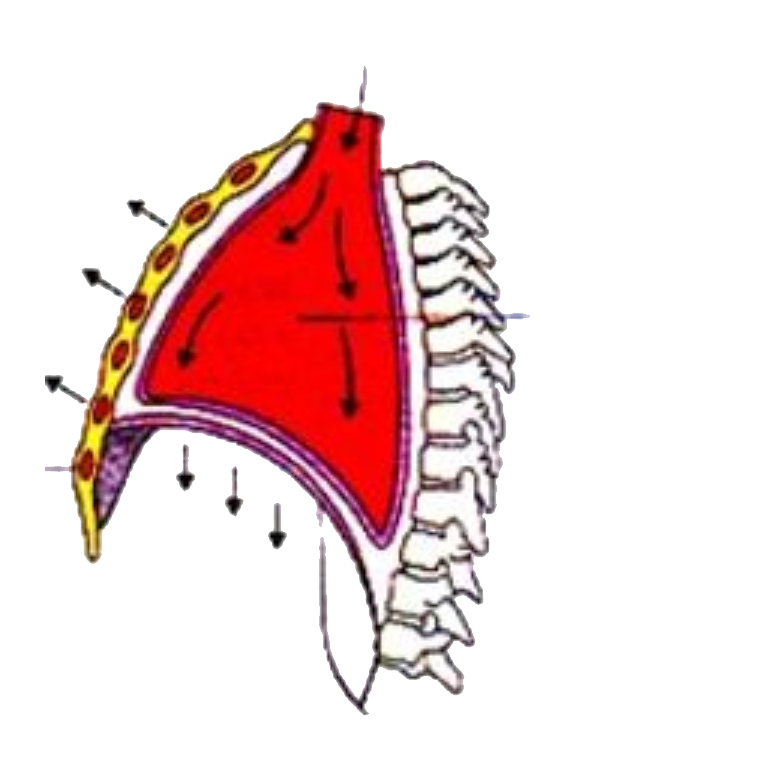
The diagram given below represents
 View Solution
Give a schematic diagram of life cycle of cockroach.
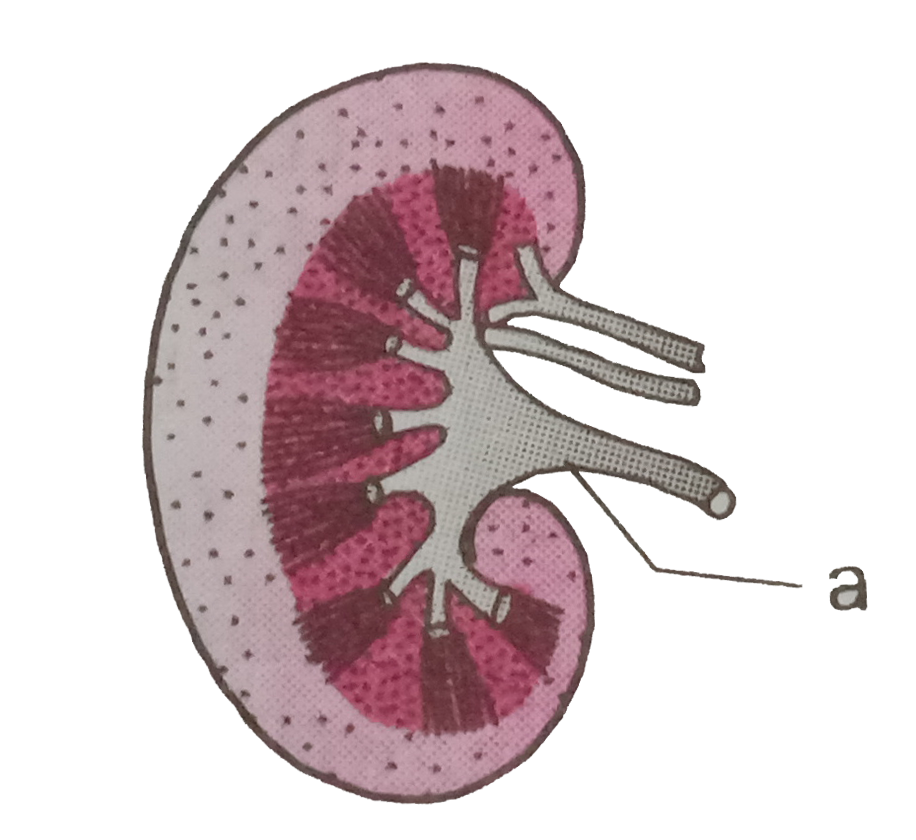
View SolutionIn the given diagram, what does 'a' represent
 View Solution
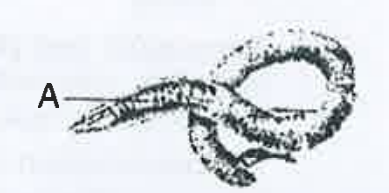
In the given diagram, what does "A" represent?
 View Solution
Draw a neat and labelled diagram of cross-section of human eyeball. (Description is not needed).
View Solution


