In a screw gauge, 5 complete rotations of circular scale give 1.5 mm reading on pitch scale. Consider circular scale has 50 divisions. Least count of the screw gauge is
0.006 mm
0.003 mm
0.015 mm
0.03 mm
The correct Answer is:A
Step by step video & image solution for In a screw gauge, 5 complete rotations of circular scale give 1.5 mm reading on pitch scale. Consider circular scale has 50 divisions. Least count of the screw gauge is by Physics experts to help you in doubts & scoring excellent marks in Class 11 exams.
Updated on:21/07/2023Similar Questions
The pitch of a screw gauge is 0.5 mm. It's head scale contains 50 divisions. The least count of the screw gauge is
View SolutionIn a screw gauge, 5 complete rotations of the screw cause if to move a linear distance of 0.25cm. There are 100 circular scale divisions. The thickness of a wire measured by this screw gauge gives a reading of 4 main scale divisions and 30 circular scale divisions. Assuming negligible zero error, the thickness of the wire is :
View Solution
Knowledge Check
The density of a solid ball is to be determined in an experiment. The diameter of the ball is measured with a screw gauge, whose pitch is 0.5mm and there are 50 divisions on the circular scale. The reading on the main scale is 2.5mm and that on circular scale is 20 divisions. if the measured mass of the ball has a relative error of 2%, the relative percentage error in the density is
A0.9%B2.4%C3.1%D4.2%
Assuming negligible zero error, Find the thickness of the wire,If In a screw gauge, 5 complete rotations of the screw cause if to move a linear distance of 0.25cm. There are 100 circular scale divisions. The thickness of a wire measured by this screw gauge gives a reading of 4 main scale divisions and 30 circular scale divisions.
View SolutionDistance travelled by linear scale of screw gauge during two full rotation of circular scale is 1mm and circular scale has 50 divisions. In an experiment to measure thickness of a plate, six divisions of main scale are clearly visible and 28th division of circular scale coincides with reference line. Moreover when studs touch each other, zero of circular scale lies 4 division below the reference line, thickness of the plate will be:
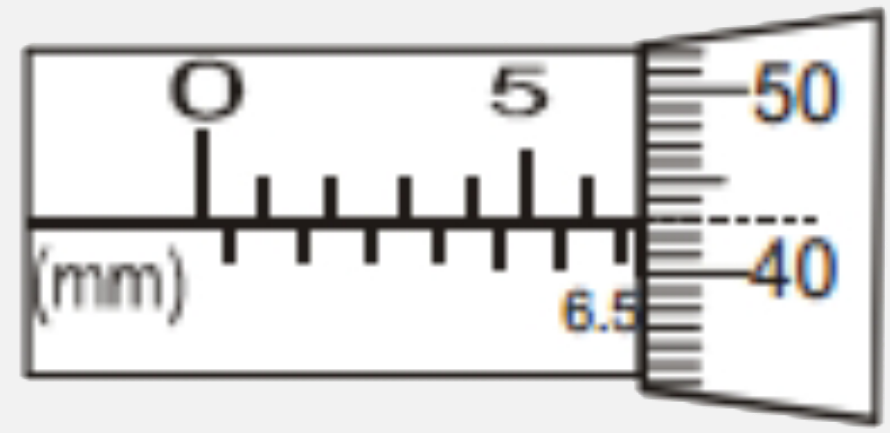
View SolutionThe figure shown below is a screwgauge. When the circular scale division matches the main scale at 43, the 6.5 mm mark on the main scale is just visible. The main scale has 12mm marks. In complete rotation, the screw advances by 12 mm and circular scale has 50 divisions. The reading of the screwgauge is

View SolutionA screw gauge advances by 3mm in 6 rotations. There are 50 divisions on circular scale. Find least count of screw gauge
View SolutionA screw gauge advances by 3mm in 6 rotations. There are 50 divisions on circular scale. Find least count of screw gauge
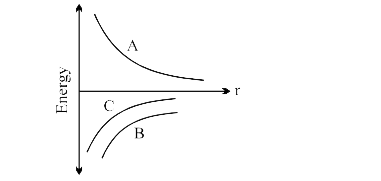
View SolutionThe figure shows the variation of energy with the orbit radius of a body in circular planetary motion.

Find the correct statement about the curves A, B and C
View SolutionThe pitch of a screw gauge is 1 mm and there are 100 divisions on circular scale. When the two studs of the screw gauge are touching each other, the 32nd division of the circulasr scale coincides with the reference line / base line / index line on the pitch scale. When a glass plate is placed in between the studs firmly, the pitch scale reads 4 divisions and the circular scale reads 16 divisions
Least count of the apparatus is
View Solution
