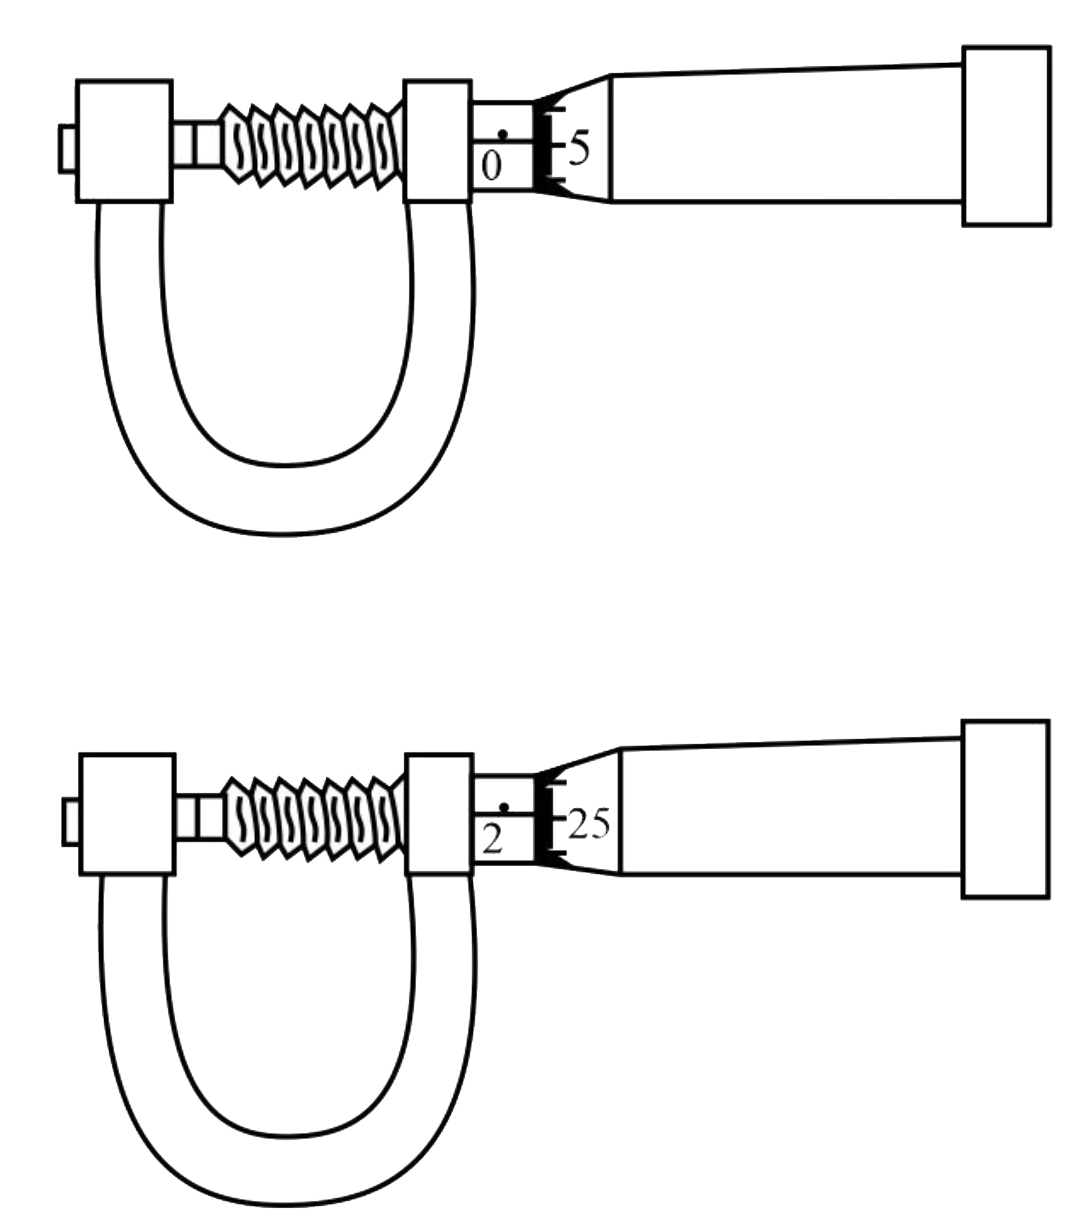
The figure shows two diagrams of the same screw gauge . In the first case, nothing is kept in its jaw and in the second case a small ball is kept between the jaws for which the diameter is required to be measured. The number of circular divisions on the shown screw gauge is 50. It moves 0.5mm on the main scale for one complete rotation and the main scale has 12 Mm marks . The diameter of the ball is
2. 25 mm
2.20 mm
1.20 mm
1.25 mm
The correct Answer is:C
Step by step video & image solution for The figure shows two diagrams of the same screw gauge . In the first case, nothing is kept in its jaw and in the second case a small ball is kept between the jaws for which the diameter is required to be measured. The number of circular divisions on the shown screw gauge is 50. It moves 0.5mm on the main scale for one complete rotation and the main scale has 1/2 Mm marks . The diameter of the ball is by Physics experts to help you in doubts & scoring excellent marks in Class 12 exams.
Updated on:21/07/2023Topper's Solved these Questions
Similar Questions
Knowledge Check
The number of circular divisions on the shown screw gauge is 50 it moves 0.5mm on main scale for moone complete rotation Main scale reading is 2 The diameter of the balls is
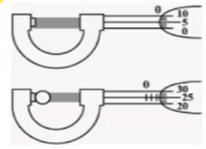 .A2.25mmB2.20mmC1.20mmD1.25mm
In a screw gauge, the zero of mainscale coincides with fifth division of circular scale in figure (i). The circular division of screw gauge are 50. It moves 0.5mm on main scale In one rotation. The diameter of the ball in figure (ii) is
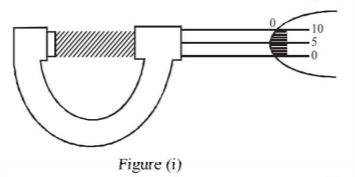
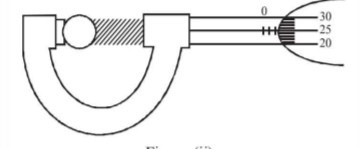 A(a) 2.25mmB(b) 2.20mmC( c ) 1.20mmD(d) 1.25mm
On six complete rotations, the screw gauge moves by 3 mm on the main scale. If there are 50 divisions on the circular scale the least count of the screw gauge is
A0.01 cmB0.02 mmC0.001 mmD0.001 cm
Read the screw gauge shown below in the figure.
Given that circular scale has 100 divisions and in one complete rotation the screw advances by 1mm.
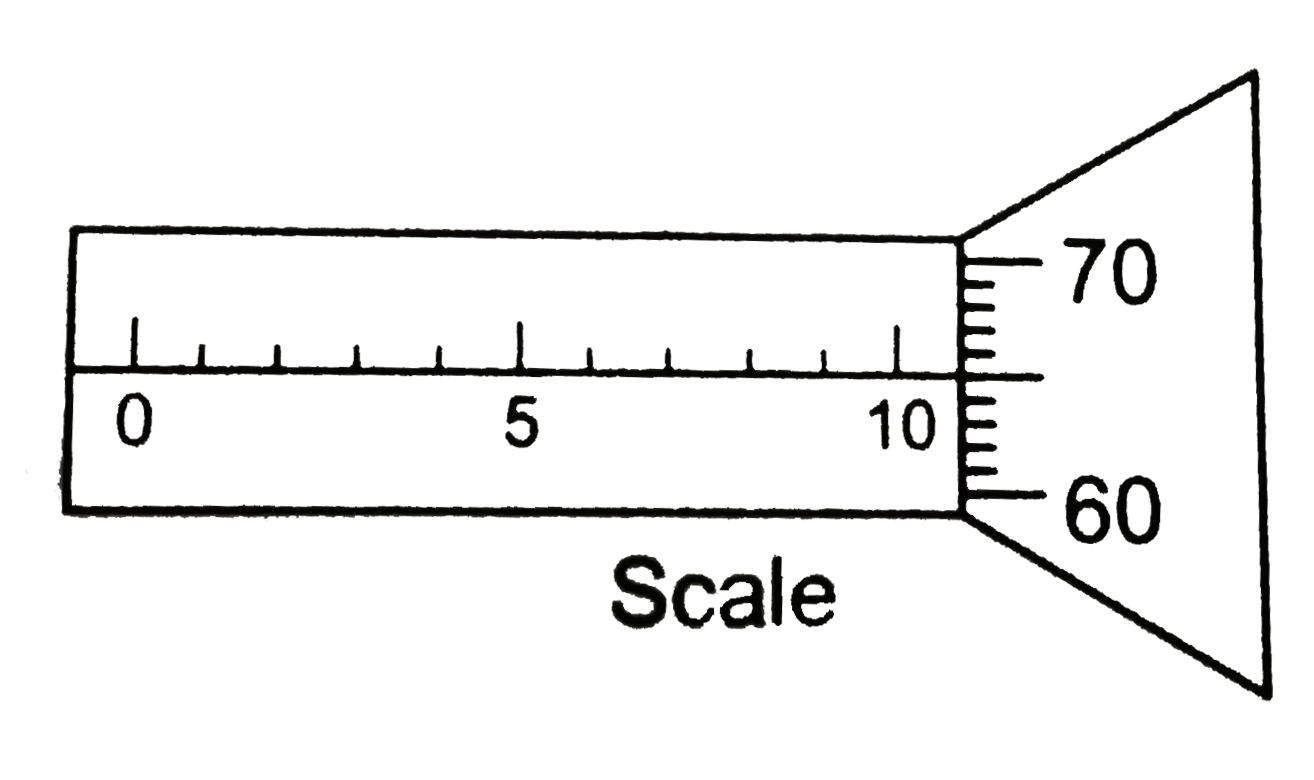 .
.
View SolutionThe circular scale of a screw gauge has 50 divisions and pitch of 0.5 mm. Find the diameter of sphere. Main scale reading is 2.

View SolutionPitch of the screw gauge is 0.5mm. Its head scale contains 50 divisions. The least count of it is
View SolutionThe circular scale of a screw gauge has 50 divisions and pitch of 0.5 mm. Find the diameter of sphere. Main scale reading is 2 -
_E01_289_Q01.png)
View SolutionThe circular scale of a screw gauge has 200 divisions. When it is given 4 complete rotations, it moves through 2mm. The least count of the screw gauge is
View Solution

