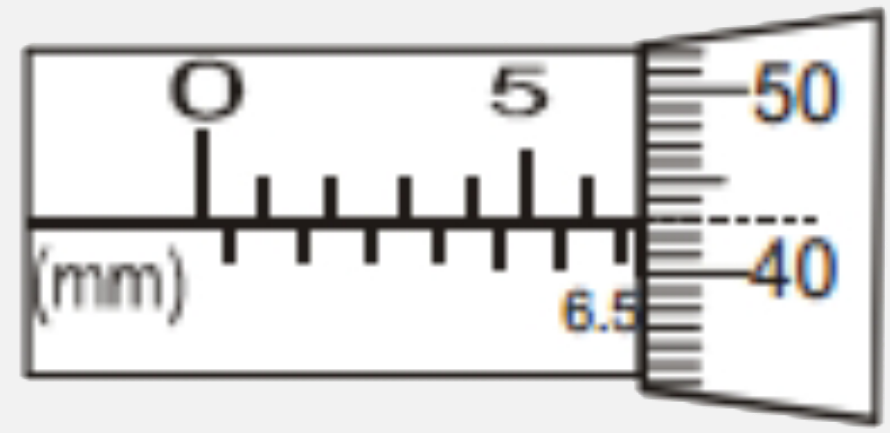
The figure shown below is a screwgauge. When the circular scale division matches the main scale at 43, the 6.5 mm mark on the main scale is just visible. The main scale has 12mm marks. In complete rotation, the screw advances by 12 mm and circular scale has 50 divisions. The reading of the screwgauge is

6.93 mm
5.93 mm
4.93 mm
7.93 mm
The correct Answer is:A
Step by step video & image solution for The figure shown below is a screwgauge. When the circular scale division matches the main scale at 43, the 6.5 mm mark on the main scale is just visible. The main scale has (1)/(2)mm marks. In complete rotation, the screw advances by (1)/(2) mm and circular scale has 50 divisions. The reading of the screwgauge is by Physics experts to help you in doubts & scoring excellent marks in Class 12 exams.
Updated on:21/07/2023Topper's Solved these Questions
Similar Questions
Knowledge Check
In a screw gauge, the main scale has divisions in millimetre and circular scale has 50 divisions. The least count of screw gauge is
A2 micronsB5 micronsC20 micronsD50 micronsOn six complete rotations, the screw gauge moves by 3 mm on the main scale. If there are 50 divisions on the circular scale the least count of the screw gauge is
A0.01 cmB0.02 mmC0.001 mmD0.001 cmCircular scale of a screw gauge moves through 4 divisions of main scale in one rotation. If the number of divisions on the circular scale is 200 and each division of the main scale is 1 mm., the least count of the screw gauge is
A0.01 mmB0.02 mmC0.03 mmD0.04 mm
Find the thickness of the wire The main scale division is of 1mm In a complete rotation the screw advances by 1mm and the circular scale has 100 devisions

View SolutionFind the thickess of the wire The main scale division is of 1mm In a complete rotation the screw advances by 1mm and the circular scale has 100 devisions Zero error of the screwgase is 0.007mm .
 .
.
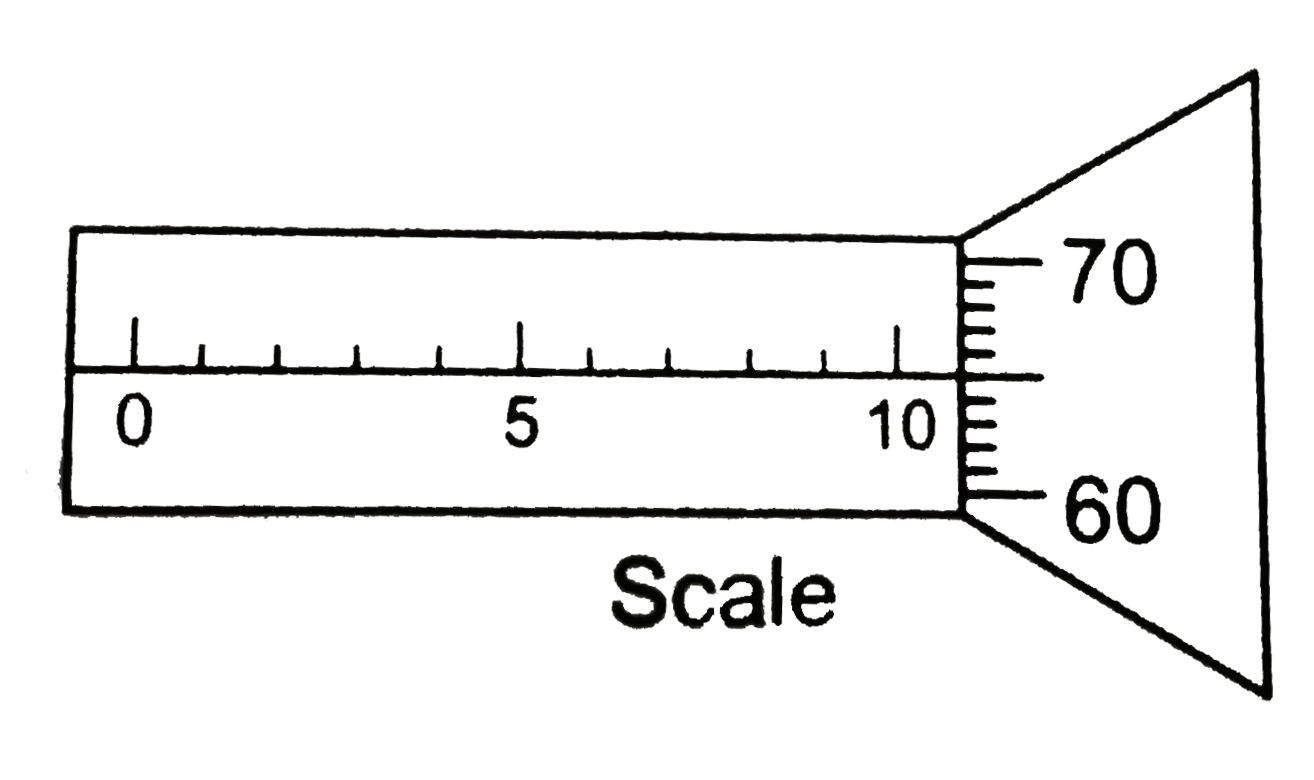
View SolutionRead the screw gauge shown below in the figure.
Given that circular scale has 100 divisions and in one complete rotation the screw advances by 1mm.
 .
.
View SolutionThe circular divisions of shown screw gauge are 50. It moves 0.5 mm on main scale in one rotation. The diameter of the ball is

View SolutionThe pitch of a screw gauge is 1 mm and there are 50 divisions on its cap. When nothing is put in between the studs, 44th division of the circular scale coincides with the refersence line zero of the main scale is not visible. When a glass plate is placed between the studs, the main scale reads three divisions and the circular scale reads 26 divisions. The thickness of the plate is (360+a)×10−2 mm. Find 'a'.
View Solution
